
Repair of the front differential
Published May 22, 2017 Updated July 18, 2026 By Gonzalo Solaz
Learn about the author’s experience and limitations. About the author
After dismantling the differential down to the very last part and checking in ETKA which parts I was missing, I set about buying them to carry out the repair on the front differential of the Volkswagen T3 Syncro.
The first step is to identify which parts need replacing (and there are going to be quite a few). Once I’m sure a part needs replacing, I go into the ETKA, find the diagram and select the number to get the part number. I then enter that part number online and it shows me which shop stocks the part.
I organise all this in an Excel spreadsheet, noting down the part number, description, the URL of the shop where the part is available, and the price. This will help me keep the front differential repair organised.
Once I’ve got that sorted, it’s time to order the parts.
Repairing the front differential
Let’s get to work. I’ve got the parts and am ready to start assembling all the components of the front differential. It’s no easy task, because when you look through the manual, you realise just how many tools and bits of kit were used to set it up properly. But anyway, we’ve got to give it a go and see how far we get.
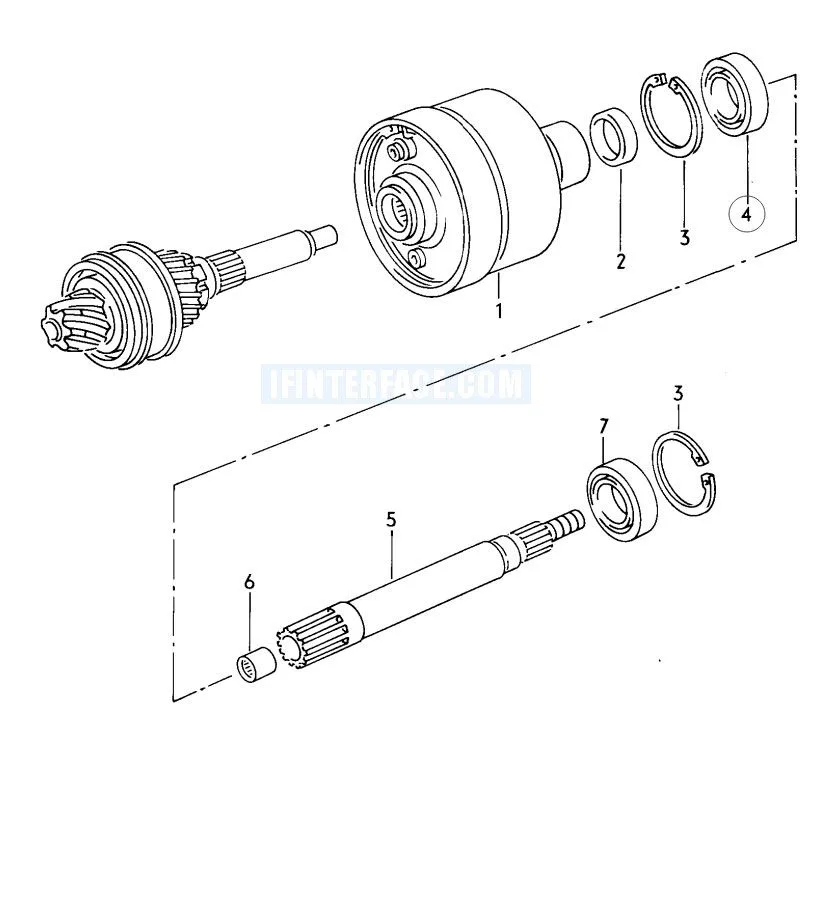
I’ll start with the housing that connects the differential to the driveshaft. Once I’ve cleaned it, I’ll start fitting the parts inside it. These are a pair of bearings held in place with Seeger washers and a long tube.
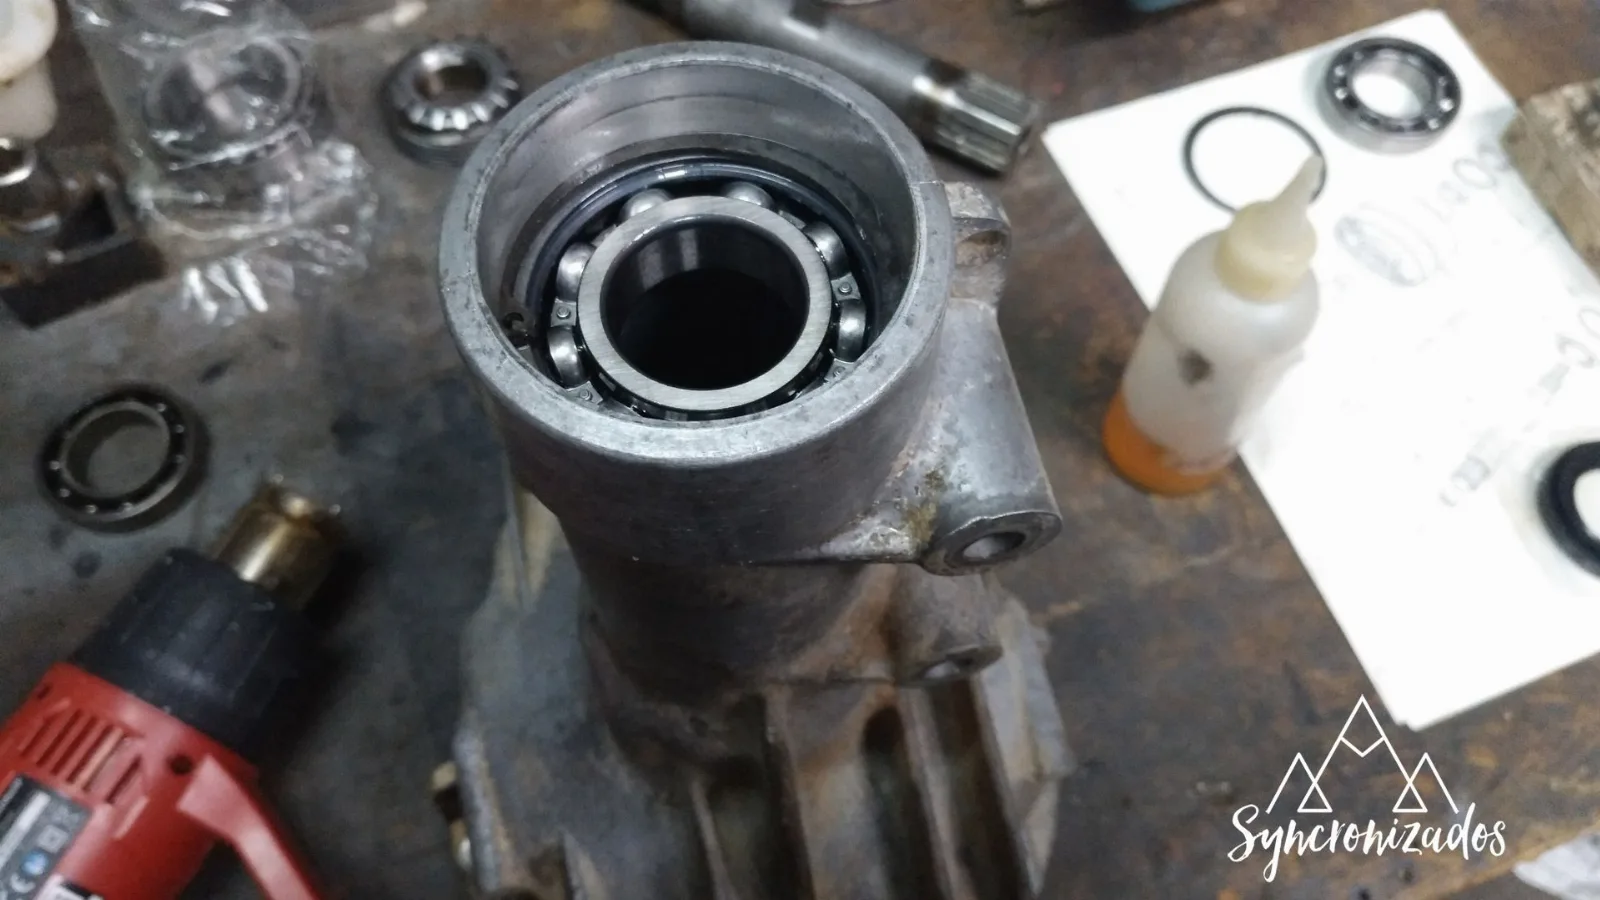
It’s interesting to note the method used to fit the bearings and other parts of the differential. As they’re made of metal and fit very tightly, we’ll often need to make use of the thermal expansion of the materials. In other words, playing with heat and cold to get the parts to fit together. Materials contract when cold and expand when hot. This combination makes it easier to fit the parts together. For example, what I used to do was put the bearing in the fridge and heat the housing with a heat gun. This caused the housing to expand and the bearing to contract, making it easier to fit.
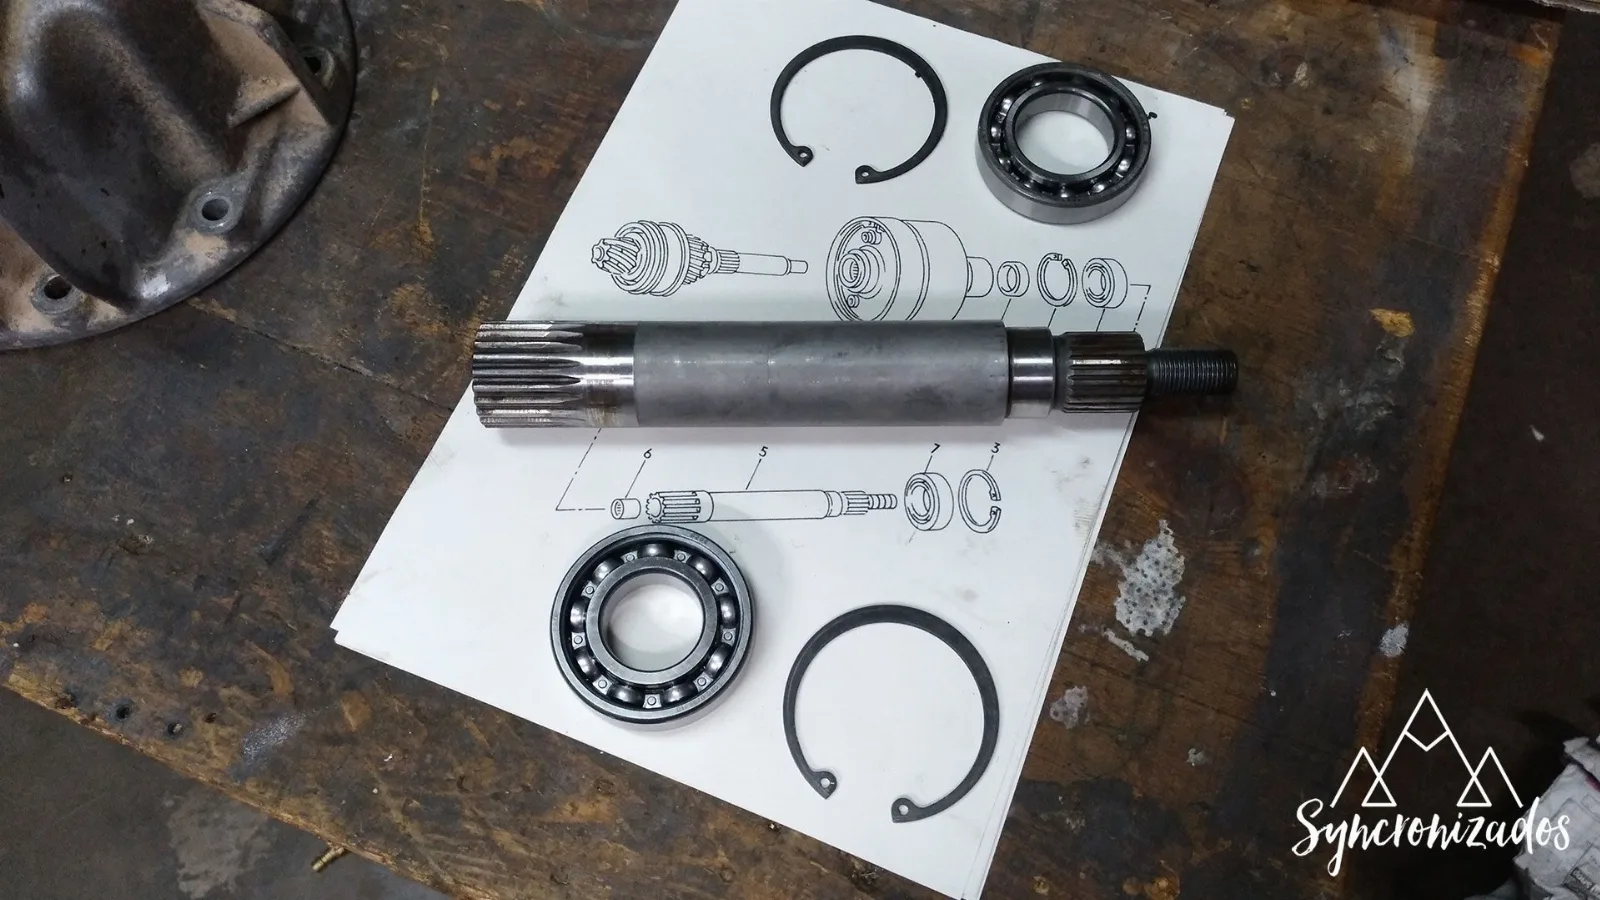
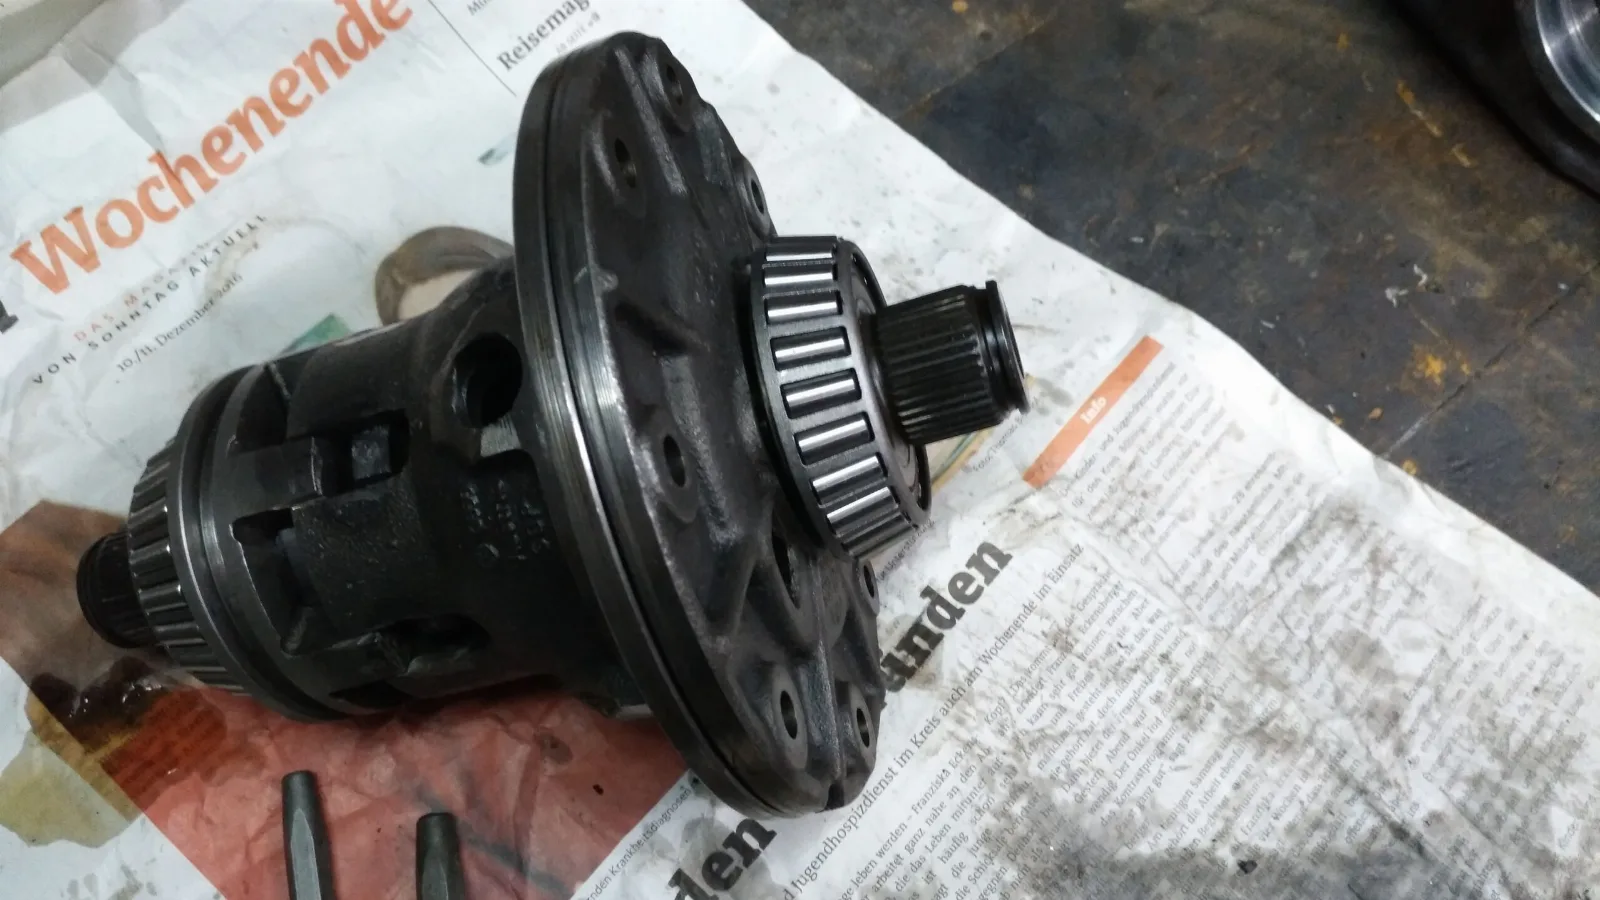
With this part finished, we move on to the bevel gear assembly. Same process here: I clean the parts, apply heat and assemble them.
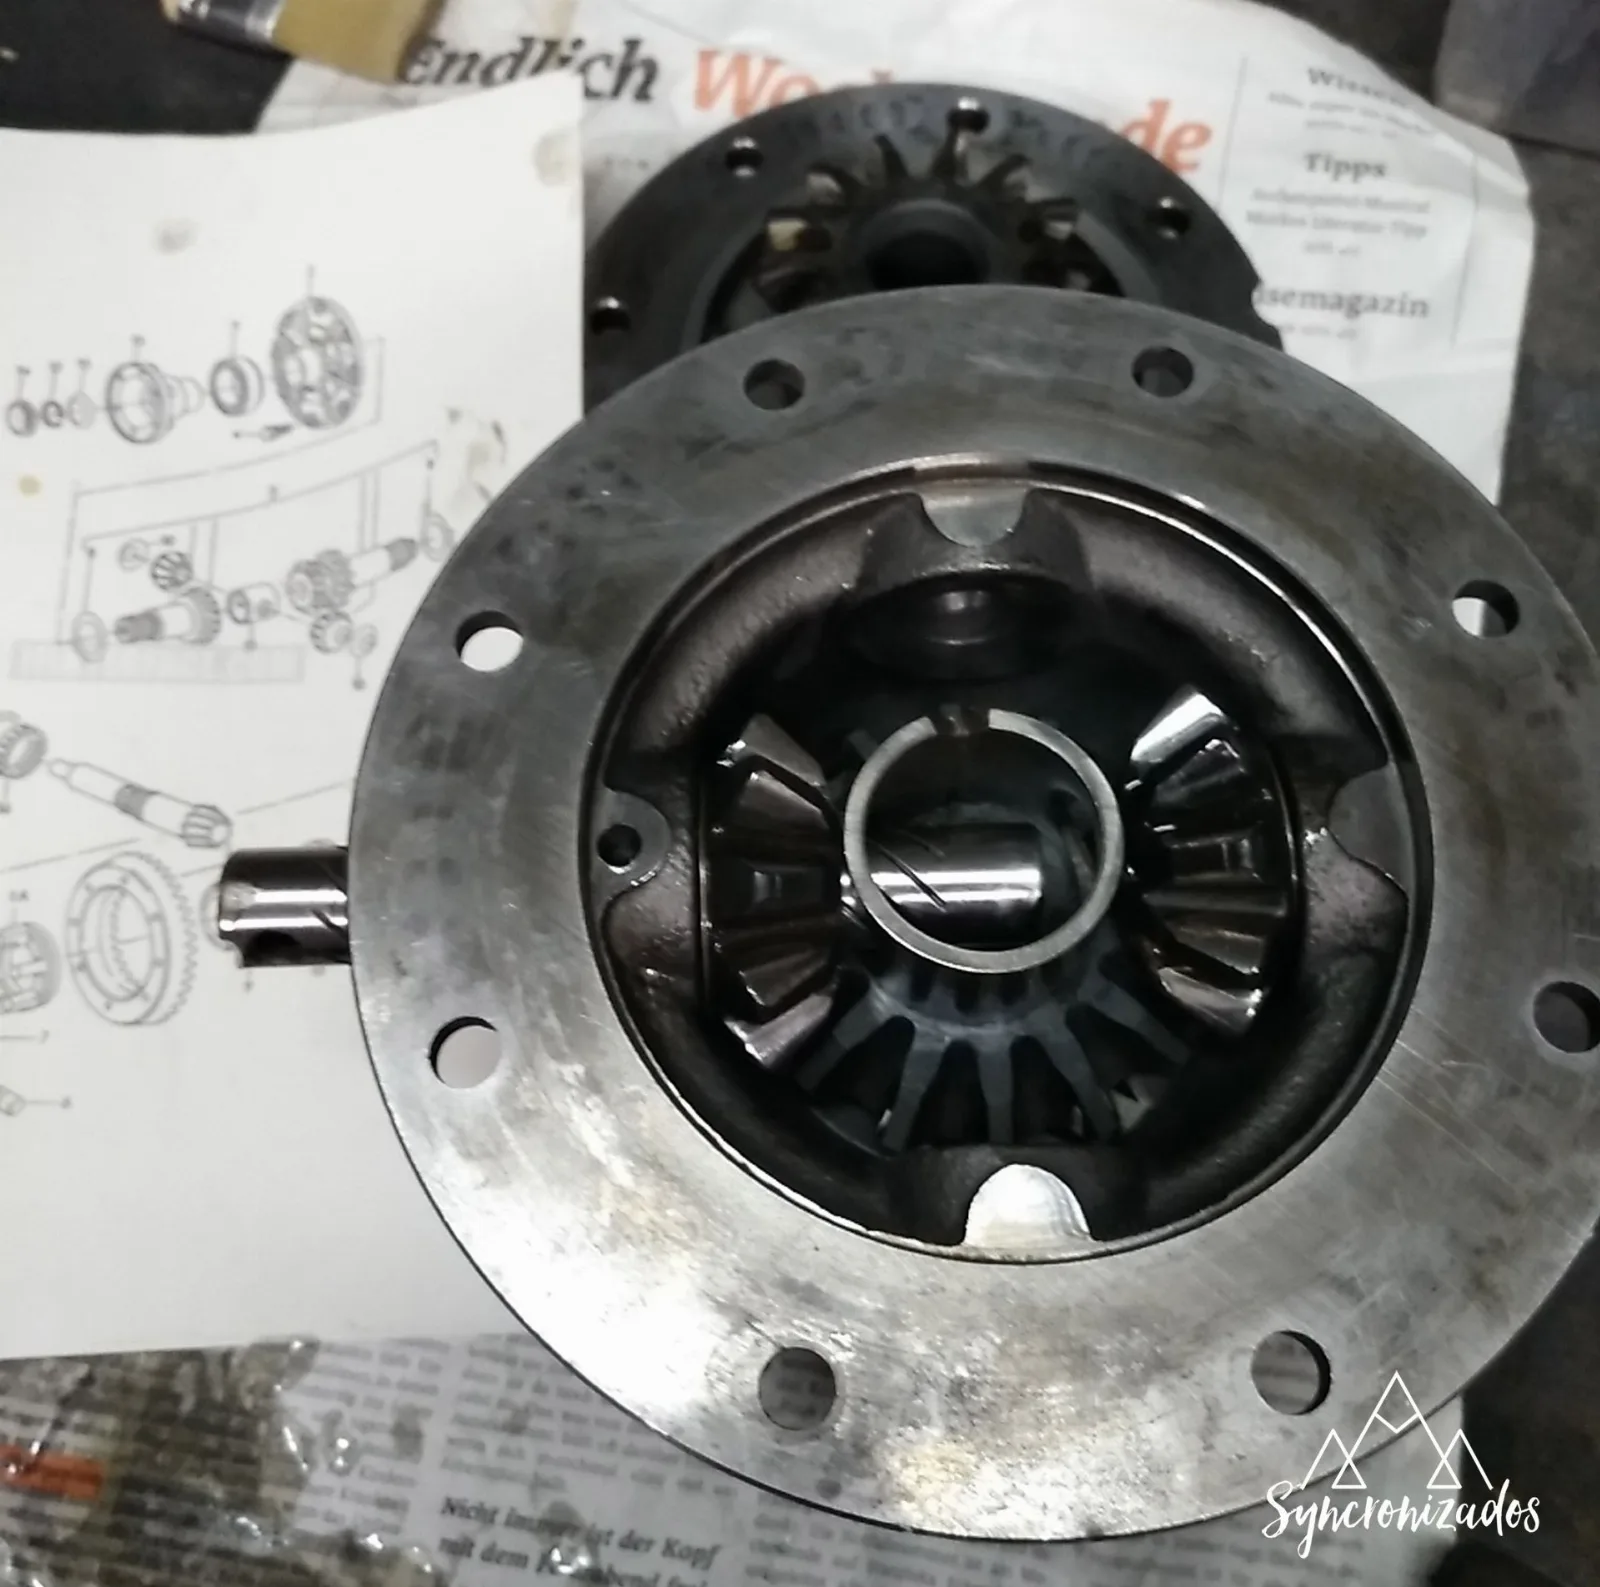
I pay close attention to the manual, the diagrams, the tightening torques and the correct positioning of the parts. I check that the lock slides smoothly and fit new bearings at both ends. These need to be pressed into place.
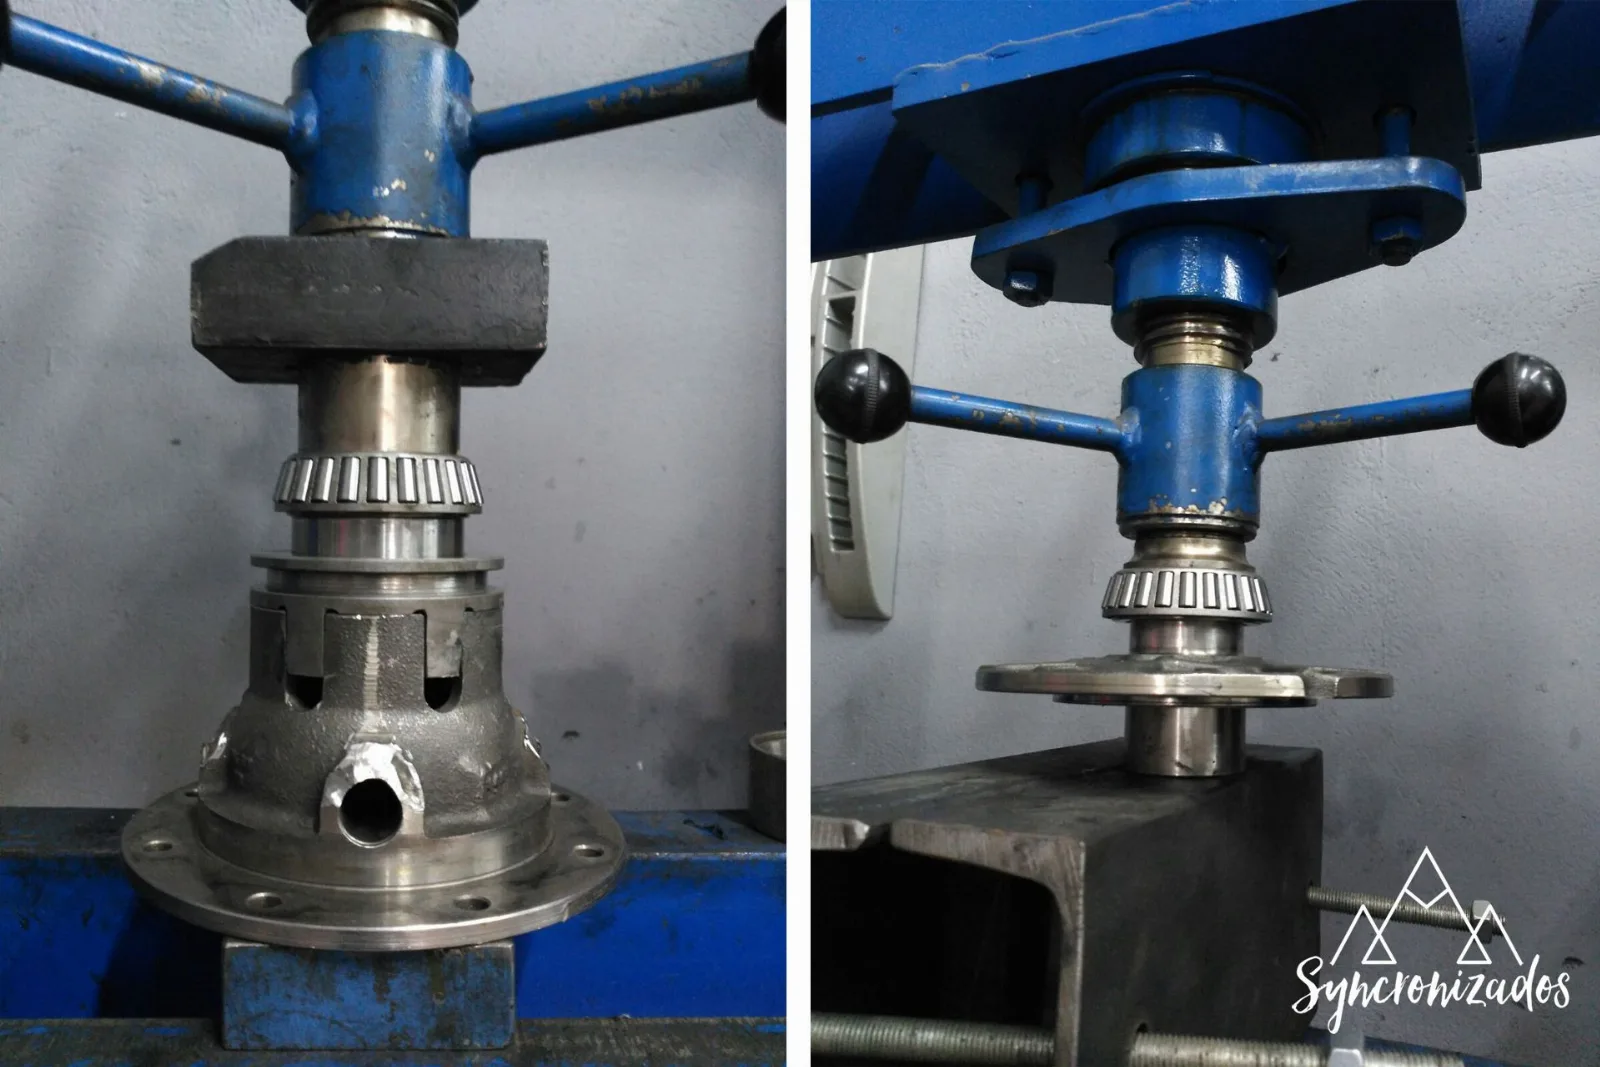
The bevel gear set is fully assembled once I fit the ring gear and tighten the bolts.
Sprocket and bevel gear assembly
This is the most delicate step in the process. According to the manual, to ensure a good fit, you need a set of jigs that allow for correct installation. Furthermore, to assemble and tighten the sprocket assembly, you either have to make your own jigs or you simply cannot do it without the tool specified in the manual.
I don’t want to take any risks – as I’ve already said, the parts I’m working with are quite expensive. I’ve bought a lot of materials; I’ve invested quite a bit of money, and if I fit them now and they break after 20,000 kilometres following the front differential repair, I won’t be pleased at all.
Luckily, here in Valencia, there’s Nito, who’s very well known on the forums and amongst Volkswagen T3 Syncro owners. After speaking to him and realising he has a lot of experience, I arranged to meet him, and he offered to carry out the adjustment himself to complete the front differential repair.
It really was a very good decision, as he’s already fitted quite a few differentials and therefore knows exactly what he’s doing.
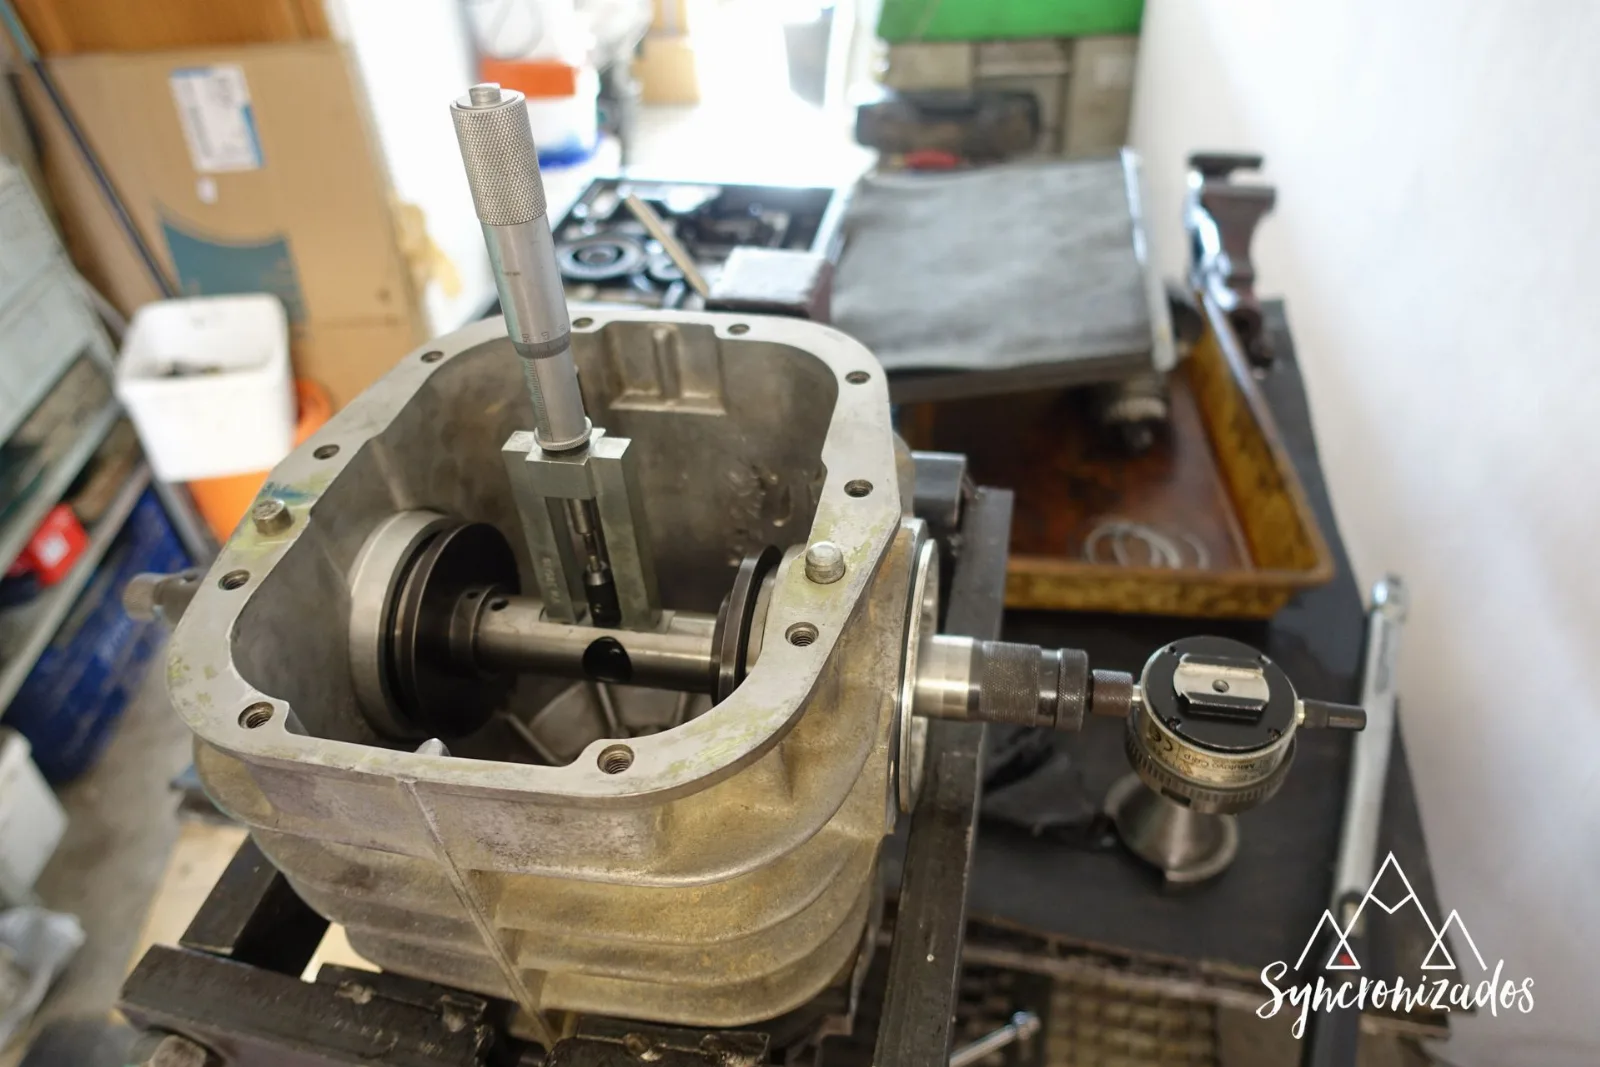
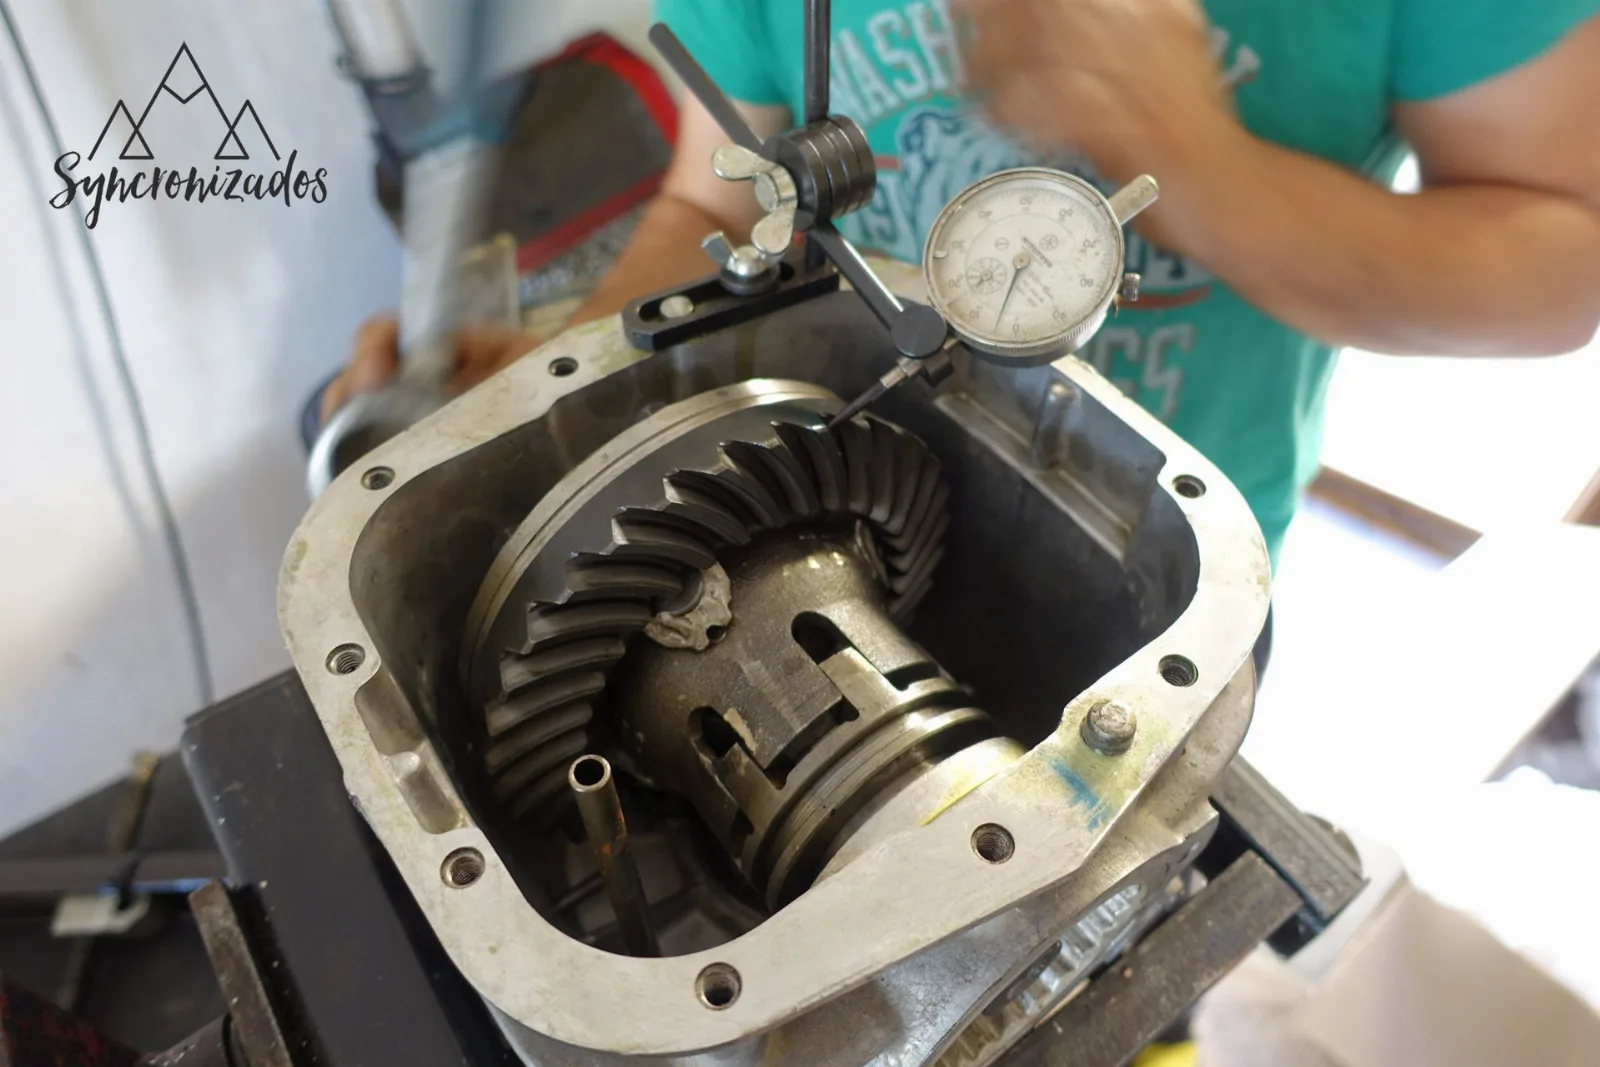
As you can see, he has all the tools needed for a proper adjustment. Original tools such as the VW385, which is used to position the drive pinion correctly by taking measurements and adjusting with washers of different thicknesses.
In no time at all, we’ve adjusted both the pinion and the ring gear. The rest of the parts don’t pose any major problems, so I’ll be the one to carry on with the assembly.